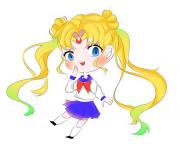
It is so cute to practice semi-real after a long time =)))
Category: Drawing characters 11 months ago
Good day everyone, recently I'm interested in semi-real because the girls in this style look very pretty and sweet 🍬. So, today I will make a step by step about how to draw a girl in semi-real style. Hope everyone will like it :>
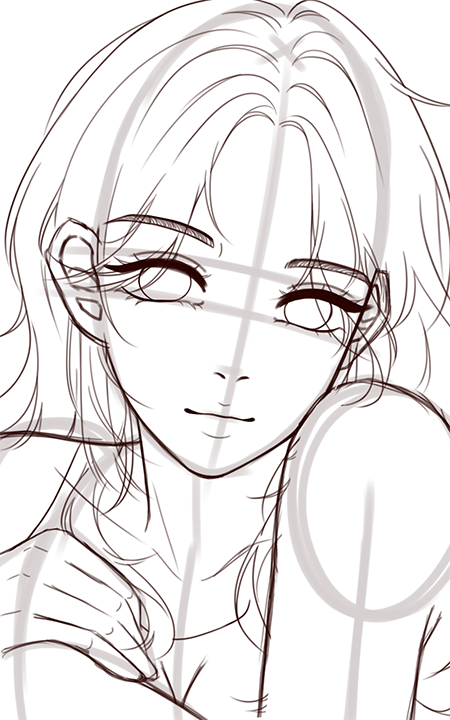
Step 1: Sketch the picture. Here I used a big oval for the head and small circles for the shoulder joints. Don't forget to sketch the facial axis so you can determine the correct view of the character!

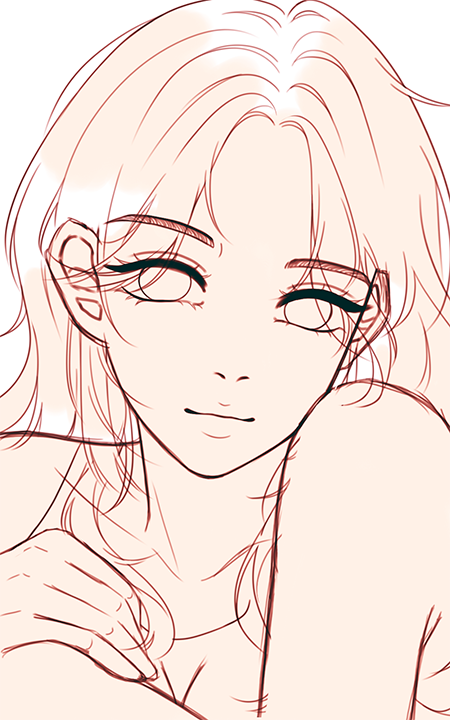
Step 2: Lower the opacity of the first layer and sketch the details in a new layer. Please note that the semi-real scale is closer to the real person than the anime, such as the eyes are smaller and the mouth is bigger.
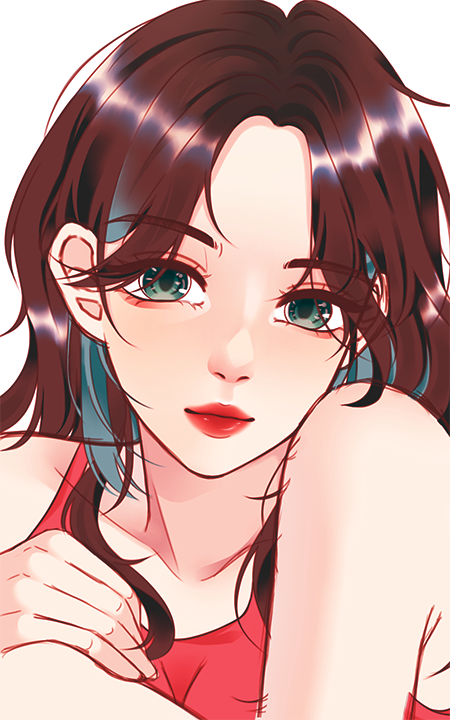
Step 3: Use a background color to base the whole character, here I often use skin color because it's convenient, ... but why it's convenient, I will clarify in the next few steps =)))
Step 4: Make up a mite for her with blush, eyeshadow and a little red lipstick. Pay attention to painting the lips because this is a highlight of the semi-real compared to anime paintings.
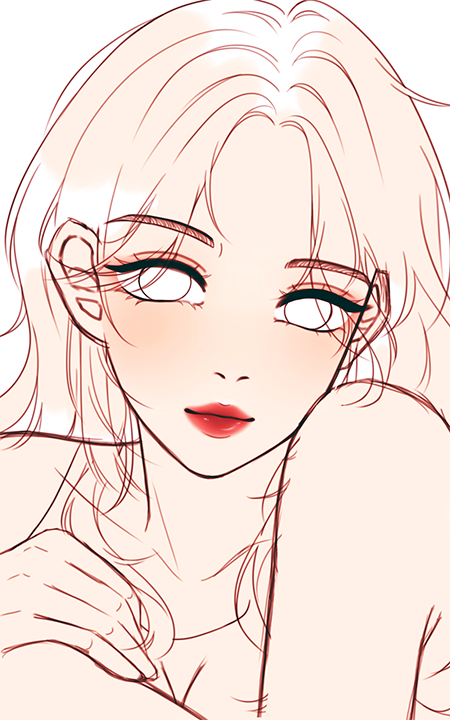
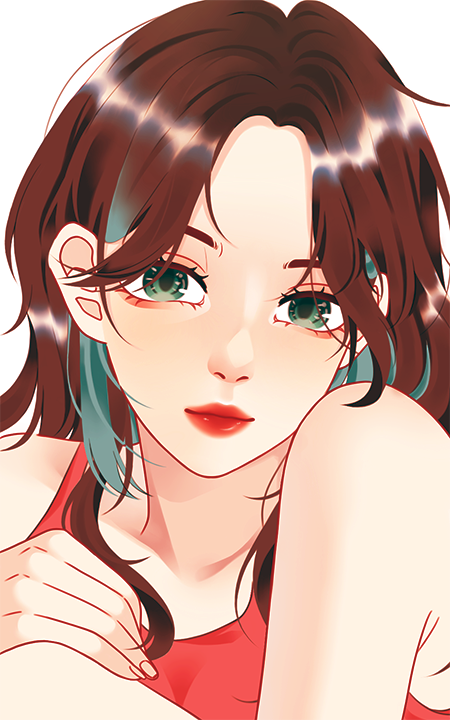
Step 5: Shading part 1 (or shadow). Actually this step is quite simple, we just need to define the dark areas of the picture and then use a dark color to pour in =)))
Step 6: Shading part 2. Highlight the darkest areas where light does not reach =))) At the same time, create a volume for the face and body, or "shading" in short.


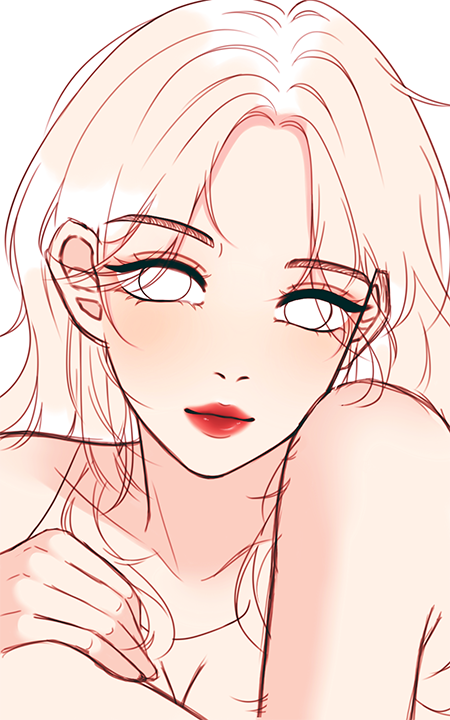
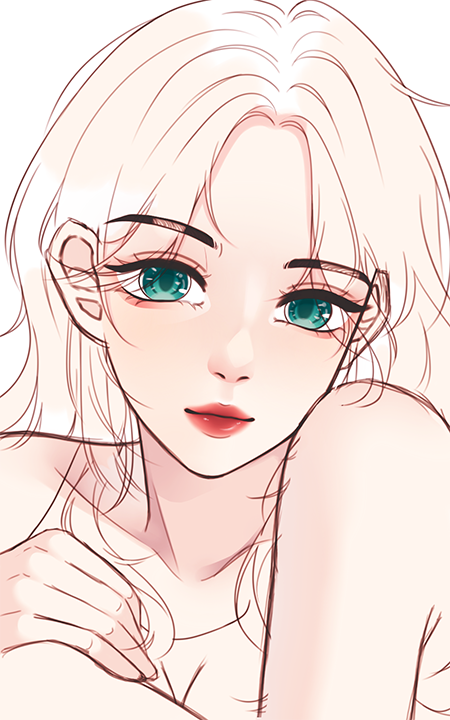
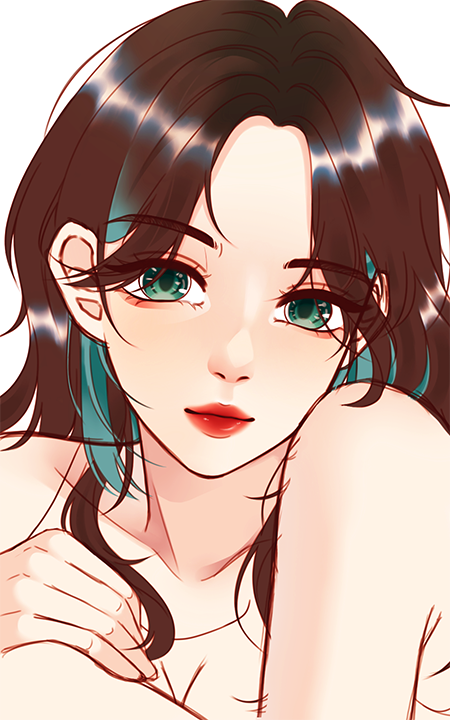
Step 7: Paint the eyes. Here I only show the final step because I've done an eye tutorial before. By the way, don't forget to paint the eyebrows.
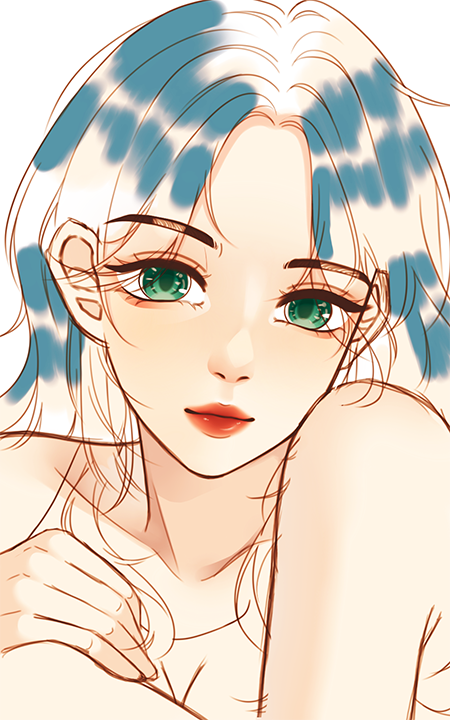
Step 8: Then comes the hair. In this step, I will explain why I used blue and why it's convenient to base the picture with skin color. Firstly, the skin color base will help me to seal the gaps of the sketch / line when painting, and help to separate the parts, too. Secondly, because I often highlight the hair with more than 1 color to make the picture less boring, and the main tone of my OC's hair is blue - brown, so I used blue to base first!!!
Step 9: Fill the brown color on the hair, it will be like this =)))
Step 10: Shade the hair for the first time, use a color which is a little bit darker than the base color to shade. This is mainly used to shade the hair, so don't pick too dark color =)))
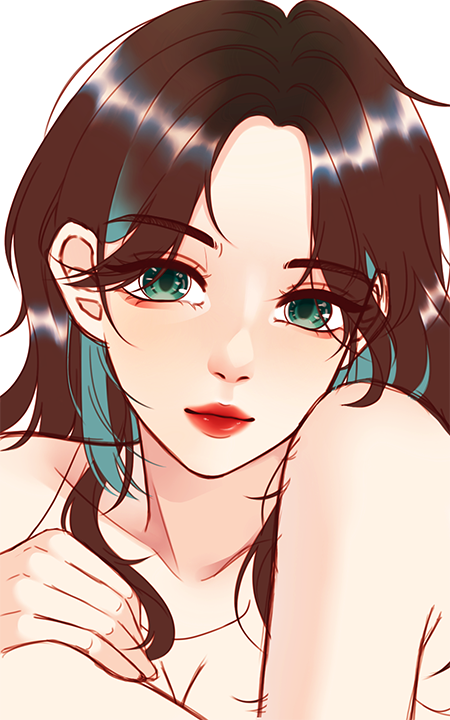
Step 11: Shade the hair for the second time. In this step, you should pick a much darker color than the first shading. Because this is to describe the dark areas of the hair, so the darker the better, depending on each person's aesthetic. Pay attention to shade the curls nicely... not messy =))) By the way, color the shirt to look more elegant =))))))
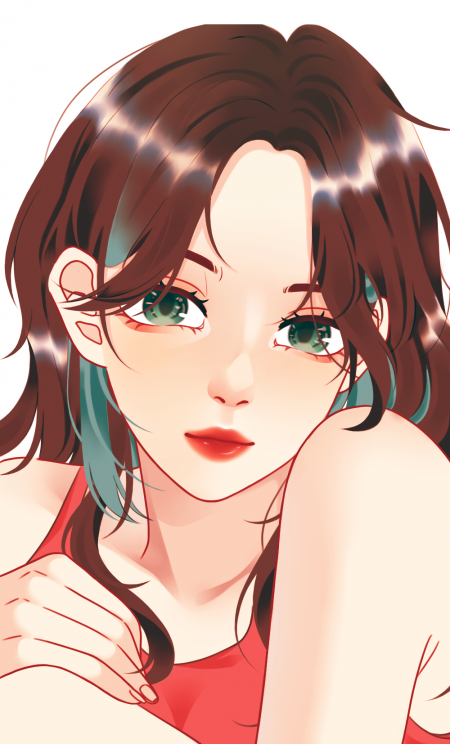
Step 12: Hide the sketch layer, we will have something like this. Then you can line up some details to highlight. Here, I mainly put lines on the face as well as the facial parts, and just some tiny lines in the hair (those little stalks) to make it easier to see.
That's it =))) Basically in semi-real style, except that the shading is more meticulous than the anime, and the ratio of facial parts is a bit more difficult to divide, it's not too complicated =))) Wish you success <3
Tags: girl drawing cute girl drawing how to draw a girl how to draw a girl in semi-real style
Step 2: Lower the opacity of the first layer and sketch the details in a new layer. Please note that the semi-real scale is closer to the real person than the anime, such as the eyes are smaller and the mouth is bigger.
Step 3: Use a background color to base the whole character, here I often use skin color because it's convenient, ... but why it's convenient, I will clarify in the next few steps =)))
Step 4: Make up a mite for her with blush, eyeshadow and a little red lipstick. Pay attention to painting the lips because this is a highlight of the semi-real compared to anime paintings.
Step 5: Shading part 1 (or shadow). Actually this step is quite simple, we just need to define the dark areas of the picture and then use a dark color to pour in =)))
Step 6: Shading part 2. Highlight the darkest areas where light does not reach =))) At the same time, create a volume for the face and body, or "shading" in short.
Step 7: Paint the eyes. Here I only show the final step because I've done an eye tutorial before. By the way, don't forget to paint the eyebrows.
Step 8: Then comes the hair. In this step, I will explain why I used blue and why it's convenient to base the picture with skin color. Firstly, the skin color base will help me to seal the gaps of the sketch / line when painting, and help to separate the parts, too. Secondly, because I often highlight the hair with more than 1 color to make the picture less boring, and the main tone of my OC's hair is blue - brown, so I used blue to base first!!!
Step 9: Fill the brown color on the hair, it will be like this =)))
Step 10: Shade the hair for the first time, use a color which is a little bit darker than the base color to shade. This is mainly used to shade the hair, so don't pick too dark color =)))
Step 11: Shade the hair for the second time. In this step, you should pick a much darker color than the first shading. Because this is to describe the dark areas of the hair, so the darker the better, depending on each person's aesthetic. Pay attention to shade the curls nicely... not messy =))) By the way, color the shirt to look more elegant =))))))
Step 12: Hide the sketch layer, we will have something like this. Then you can line up some details to highlight. Here, I mainly put lines on the face as well as the facial parts, and just some tiny lines in the hair (those little stalks) to make it easier to see.
That's it =))) Basically in semi-real style, except that the shading is more meticulous than the anime, and the ratio of facial parts is a bit more difficult to divide, it's not too complicated =))) Wish you success <3
Blu
Tags: girl drawing cute girl drawing how to draw a girl how to draw a girl in semi-real style
 «
«  »
» 
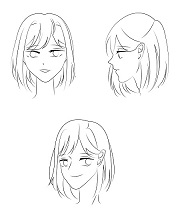
♥ ★ How to draw anime girl face - step by step
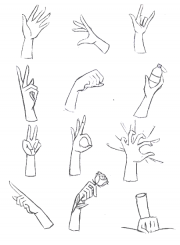
♥ ★ How to draw hands in just 4 ridiculously simple steps
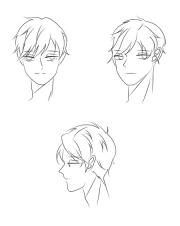
♥ ★ How to draw anime boy face that handsome like movie star
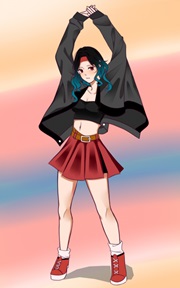
♥ ★ Step by step - Drawing a girl in cool style UwU